(This post has been updated in 2019 following the transition of Open Badges from the Mozilla platform to the Badgr platform.)
Have you received a digital badge?
If you've received a badge from a Moodle site where you've completed an online course, you'll usually be notified by email, for example:
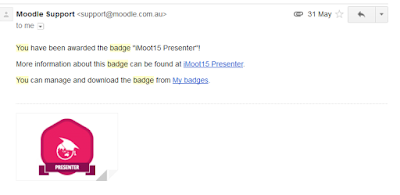
Click one of the links in the email to access the badge on the Moodle site. You'll see your name, the issuer name, and other details. For example:

If you know you've received a badge but don't get this email, don't worry. You can access the badge on your Moodle site by visiting <your Moodle site address>/badges/mybadges.php
Adding your badge on badgr.com
Step 1: Download the badge from your Moodle site by clicking the 'download' link that appears right under the badge. (You may also see an option to add the badge directly to a backpack, but if you don't see this link or it doesn't work, you can add the badge manually to a badge portfolio by following the steps below.)
Step 2: Create an account on the badgr.com website.
Step 3: Login to your account on badgr.com and click the 'Add badge' button. Upload the image file of the badge that you downloaded from your Moodle site.
Step 4: Adding a badge doesn't automatically make it public. If you would like to display your badge publicly, you have to create a badge collection. Click on the 'Collections' tab in your Badgr account and then click 'Create collection'.
Step 5: Drag the badge you have uploaded into the collection you have just created.
Step 6: Enable the 'Public' option right under the collection. Then click the 'Share' link to get the public link to your collection.
Step 7: Add the public link anywhere you'd like! Any time you want to add a new badge to this public collection or to a new collection, simply repeat the above steps.
Have you received a digital badge?
If you've received a badge from a Moodle site where you've completed an online course, you'll usually be notified by email, for example:
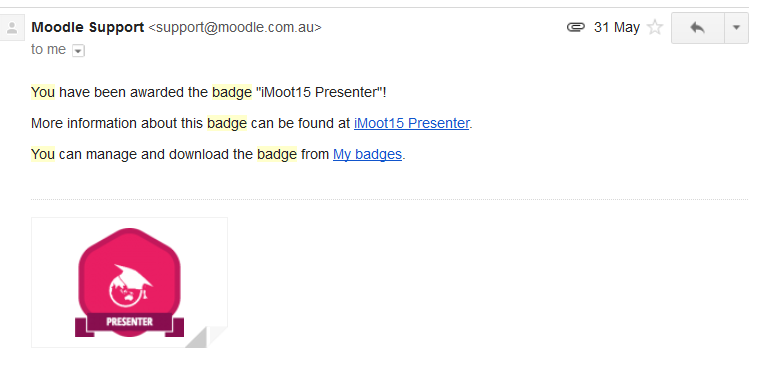
Click one of the links in the email to access the badge on the Moodle site. You'll see your name, the issuer name, and other details. For example:

If you know you've received a badge but don't get this email, don't worry. You can access the badge on your Moodle site by visiting <your Moodle site address>/badges/mybadges.php
Adding your badge on badgr.com
Step 1: Download the badge from your Moodle site by clicking the 'download' link that appears right under the badge. (You may also see an option to add the badge directly to a backpack, but if you don't see this link or it doesn't work, you can add the badge manually to a badge portfolio by following the steps below.)
Step 2: Create an account on the badgr.com website.
Step 3: Login to your account on badgr.com and click the 'Add badge' button. Upload the image file of the badge that you downloaded from your Moodle site.
Step 4: Adding a badge doesn't automatically make it public. If you would like to display your badge publicly, you have to create a badge collection. Click on the 'Collections' tab in your Badgr account and then click 'Create collection'.
Step 5: Drag the badge you have uploaded into the collection you have just created.
Step 6: Enable the 'Public' option right under the collection. Then click the 'Share' link to get the public link to your collection.
Step 7: Add the public link anywhere you'd like! Any time you want to add a new badge to this public collection or to a new collection, simply repeat the above steps.